Home Lab 2
This is a continuation of my Home Lab post.
HomeLab 2.0
I had moved apartments and decided an overhaul of the rack was in order using what I learned from various shortfalls in my original layout design.
The first issue to remediate, the handles on the Primary Server chassis prevented the rack from being closed. I normally had the front panel off so this was not an everyday issue but while moving I had to remove the server from the rack in order for the rest of my equipment to be moved safely. During the moving process, I pulled the drives from the NAS and carried those with me in anti-static bags.
With the new apartment, my laptop being used in the rack no longer worked as my new apartment had an ‘IDF’ panel in a closet, where the rack now lives. I also changed ISPs to a Fiber provider so the Motorola cable modem was no longer needed in the rack.
Network
I took this chance to upgrade my network core as the original gen 1 cloud key was starting to lack in feature capabilities and I never had consistent metric tracking. I ordered a Ubiquiti Dream Machine Special Edition (SE) along with another Unifi Access Point U6-Pro for additional WIFI coverage. I retired the USG and gen 1 cloud key and repurposed the Switch and AP into my office for work.
Primary server
The main changes, for the moment, was to remove the handles on the chassis so I could close both the rack door and the closet door. In doing so, this removed the ‘normal’ mounting points for the chassis. I rectified this with some ‘shelf rails’ and some command strips to keep the faceplate on the server itself.
A few months after the move, I installed a Mellanox MCX311A-XCAT CX311A ConnectX-3 EN 10G Ethernet SFP+ card plus a ‘10Gtek#’ SFP+ cable to use with the Dream machine’s SFP+ port. (welcome to the world of 10G!!)
I also bought more RAM off Ebay bringing the total to 64GB for now.
Other Gear
I pulled the Mac Mini with the intention of working on the memory stability issue and reimage it with a flavor of linux on a new SSD.
The pull out rack shelf, thunderbolt dock, some older harddrives that had their data migrated to the NAS, and the old Cable modem were pulled from the rack. The remaining equipment was rearranged to accommodate the new Unifi switch and clean up the cable management.
Homelab 2.5
Mac Mini
I broke it trying to install the SSD. I stopped caring about it at this point as it is nearly a decade old. I will likely get some more Raspberry Pis or some other mini PC to use as external nodes with the primary server.
Primary Server
Name: Ark I name most of my equipment after Transformers and I decided on ‘Ark’.
Not all the memory I installed was being recognized so I figured might as well check each DIMM stick and rearrange the memory to be recognized by the motherboard. In doing so, I was able to get 48GB recognized but while testing, the system would no longer POST and after some research I found the issue was with the BIOS’s Shadow RAM. At this point, I was getting annoyed with the TYAN board and its limitations, so I opted for some upgrades.
New Motherboard
I found a good deal for a ‘Supermicro X8DT3-LN4F’ on Ebay. Board arrived DoA
After getting a replacement from a different merchant, I transplanted the CPUs and heatsinks to the new board. Due to the heatsinks form factor, I needed to remove the CPU’s retention bracket to install the heatsinks. (here lies the source of many future problems..)
As I was still unsure if all the DIMMS I had were working or not, I went to testing each DIMM. In my testing, I had to remove the heatsink, which normally took the CPU with it. While re-installing the CPU during my tests, I bent some pins. After a few hours of attempting to realign the pings, I believe I shorted the CPU as the motherboard would enter a power cycle loop when attempting to turn on. This also ended up scratching the CPU bottoms, leaving them unusable.
As the CPUs were no longer viable, I ordered two Intel Xeon X5690.
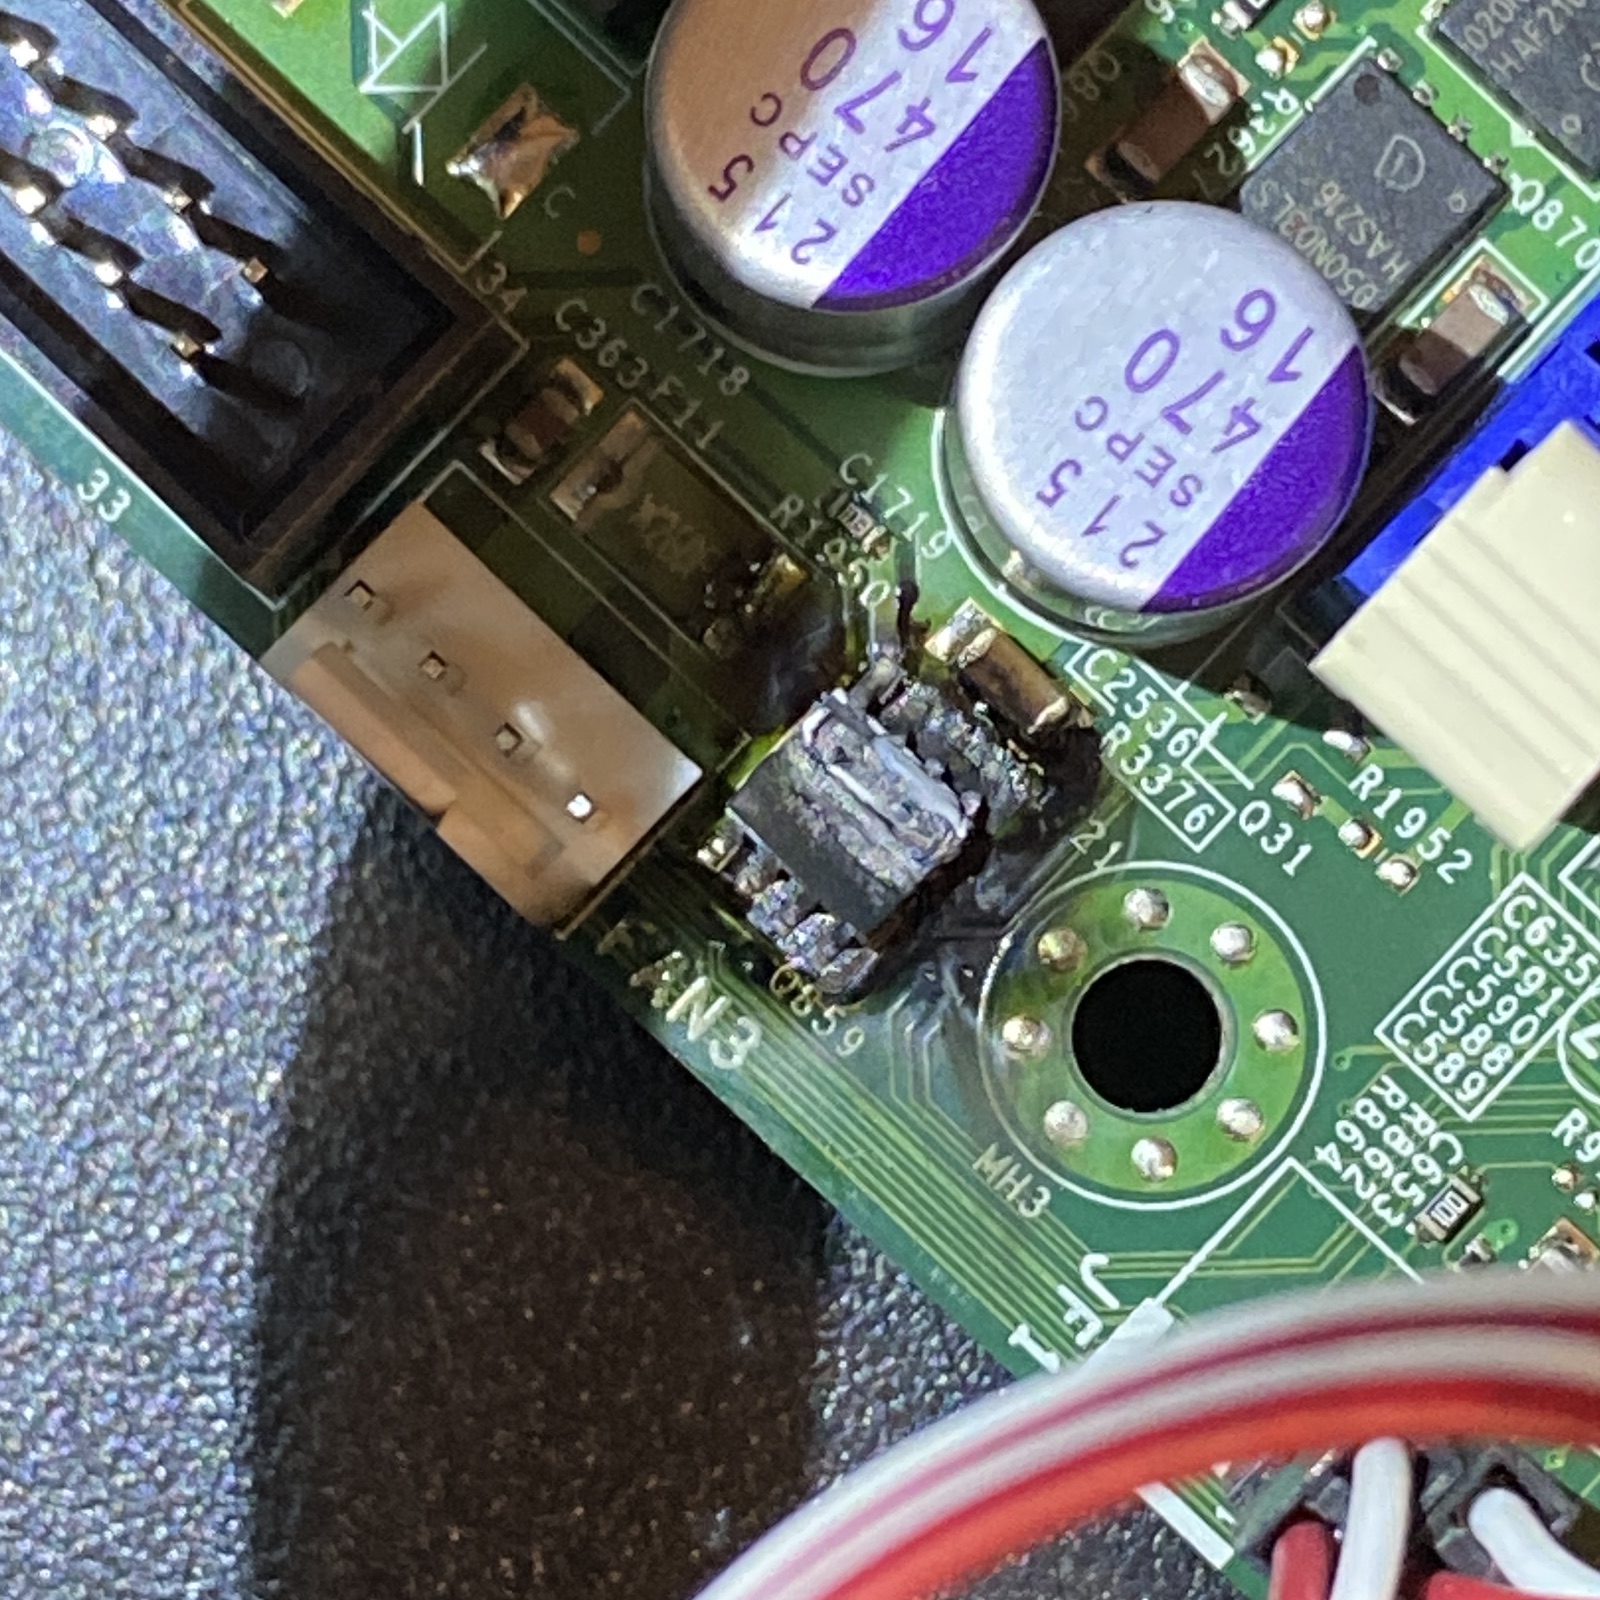
After returning this board and getting a replacement, I learned my lesson and purchased different heatsinks, opting for the Noctua NH-U12DX i4. After CAREFUL testing I finally got all RAM (84GB total) recognized by the server and started a memtest86+ run to verify all was healthy. After about 2.5 hours, all tests passed and I installed the board in the chassis and prepared to mount the server. The heatsinks were a bit tall so the cover was not able to close all the way, but the system booted to the OS so I went ahead with the install. While trying to configure the IPMI, I was not seeing the interface in the Unifi dashboard so I went to manually turn the server on. There was an odd smell so I checked inside and saw an orange glow. The motherboard was on fire. I pulled power and investigated.
< add possible chip ID that caught fire>
New Motherboard 2 (Electric Boogaloo)
One more time, with feeling!!
I was able to return the motherboard that caught fire and I opted to return the pair of Noctua NH-U12DX i4. I was not able to find a similar deal to the X8DT3-LN4F but I found a Supermicro X8DTH-iF that would fit my needs and came with two Xeon E5645 and 4GB of RAM so I now had ‘spare parts’ to test other components if needed. For heatsinks, I ordered two NH-D9DX i4 3U as these will fit in the chassis and provide adequate cooling. During this time, I also upgraded the SSDs as one of the original SSD pairs were starting to have some hardware issues. I ordered 2 Sandisk Ultra 3D 1TB SSDs and reinstalled proxmox 8.1 onto the server. I also opted to remove the old Radeon 5770 as its power draw was overloading my apartments circuit breaker from time to time and was adding around 200W of idle power draw (per some quick readings from the APC’s load indicator).
During the installation process, I was having issues getting the X8DT3 to output to my monitor via VGA as it was outputting an unsupported resolution while trying to run the ProxMox 8.1 installer. After some forum searching, I was able to modify the boot config with the option nomodeset for the console instal method. This let me finally install proxmox 8.0 onto the new SSD. Proxmox does not like DHCP, but I did not initially set this up during install. After rebooting, I was not getting any networking from the node. Investigating led to determining that Proxmox does not do well with DHCP. I would prefer to set a ‘dynamically static’ IP via the Ubiquiti console (essentially a ‘fixed IP’), but Proxmox was not happy with this. I ended up modifying the /etc/network/interfaces file directly to configure the vmbr0 to have the static IP 10.0.0.168. running ifreload -a to apply the changes. The remaining interfaces, primarily the Mellanox 10G SFP+, I configured DHCP with a ‘Fixed IP’ in the Ubiquiti Networking console.
Now that I had networking, I upgraded Proxmox to 8.1 and installed a few other utilities, such as vim, and any other updates. Next, I needed to reset the X8DT3’s IPMI admin password. I installed ipmitool and followed this guide and confirmed by accessing the webUI and accessing via the IPMIView app.
IPMI update/notes
During the 2023 Holiday season I was traveling and while my girlfriend returned home for work, my UPS had tripped and I lost power. While she attempted to silence the alarm while I was on a plane back to the East Coast, she pulled the rack out which resulted in the primary server (Ark)’s main ethernet cable becoming lose and I was unable to reach the service during my time on the East Coast. Upon return, I first changed the server’s networking config to use ensp0f1 rather then ensp0f0 as the latching mechanism on the nic0 was faulty.
This also led me to investigate why the IPMI interface was not accessible when the OS nic was unplugged. This was due to the lan selection being set to Failover by default. Reviewing some forums showed this could cause some issues:
Failover (factory default): On boot, detect if the dedicated IPMI interface is connected. If so, use the dedicated interface, otherwise fall back to the shared LAN1. I’ve never found a good use for this option. As best I can tell, this setup is fundamentally flawed - I haven’t tested it extensively, but I’ve heard reports it’ll fail to detect the dedicated interface in many circumstances because the upstream switch isn’t passing traffic - for example, after a power outage if the switch and system come up simultaneously, or if the switch is still blocking during the spanning tree detection. Combine this with the fact that the check only happens at boot, and it’s just generally hard to control what interface you end up using.
I used the ipmitool commands also mentioned in the same forum to change the lan selection to Dedicated:
ipmitool raw 0x30 0x70 0x0c 1 0
This did not seem to persist, so I also changed the setting in the web interface which appeared to persist. The IPMI interface not properly appeared in the Unify Networking console as connecting from it’s dedicated connection to the switch.
Homelab 2.6
Moonbase 1 + 2
I purchased 2 HP Elitedesk G3 Mini PCs, each with an I5-7500T, 16GB of RAM, and I put in 2 working Kingston SSDs I had.
I installed Proxmox onto each of these and added them to the existing Primary server (Ark).
I found while trying to add the nodes to the primary server, I first had to initiate a cluster which I did via the UI. Once a cluster (named ‘Cybertron’) was created, I tried to run pvecm add 10.0.0.168 but was running into authentication issues. From a forum I found that adding ark’s public ssh key to each node and adding all node’s IP addresses into each node’s /etc/hosts file resolved this.
/Current End. more TBD/